.png)
Prototype Iterations
Case: Version 1
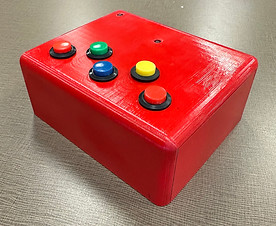
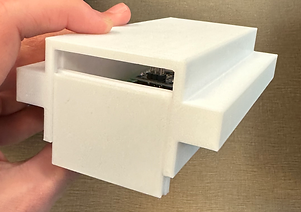
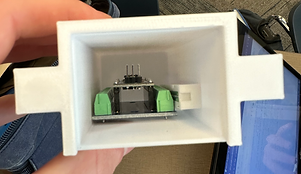
For the original model of the PuzzleIt, we originally envisioned our product being a tray with interchangeable game modules that are able to slot in/out of a holder on the tray. Because of this, the models were designed to be small and to sit inside the tray slot.
Case: Version 2
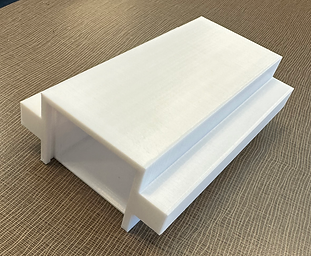
The original model was too small and the lid was not good. Within the module, just a breadboard bus and an Arduino Nano + shield took up around half of the space within the module, and there still needed to be all the wires, buttons, lights, and a buzzer. We then went ahead and enlarged the size of the module drastically. As well, the slot for the lid to be slid into was designed exactly the right size, allowing for no clearance of the lid to slide smoothly, causing it to get stuck once closed, not being able to open without brute force.
Wiring: Version 1
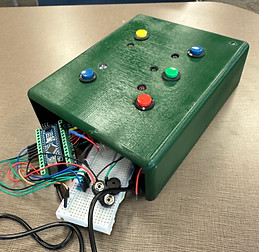
Since the first brainstorming, we had planned on using an Arduino Nano + a shield, however, while constructing the first circuitry prototype, we decided to put the shield aside, connecting the Nano directly to the breadboard, using the breadboard as the shield. While figuring out all the wiring, we realized it would be too risky and complicated to solder all the wires, so we decided to use a full breadboard rather than just the bus for a +/- charge.
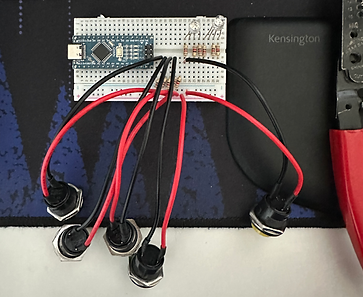
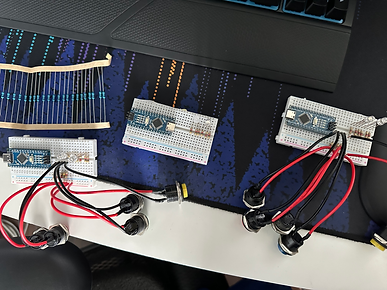_heic.png)
Case: Version 3
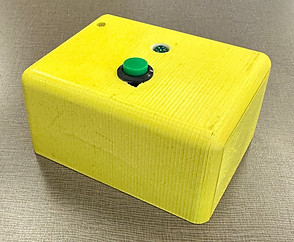
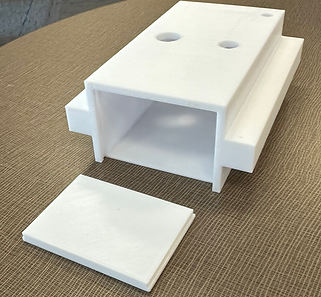
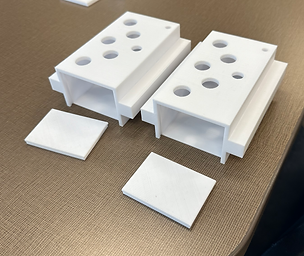
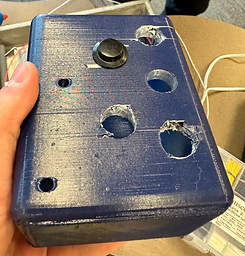
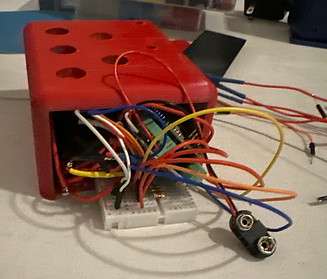
We decided to scrap the idea of the tray and converted our product from interchangeable game modules to standalone games. Because of this, we completely redesigned the case, increasing the size drastically. At first, the models were too small to comfortably fit all the wiring for Color Press and Copycat, however, Color Boop was able to work perfectly.
attempting to enlarge the size of the holes on Color Press and Copycat, the models were in a poor state and looked very bad, causing us to reprint them, however, we were able to resize them an inch wider and longer, allowing for more space for the electronics and allowing for the buttons to sit comfortably within the case.
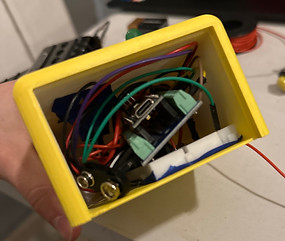
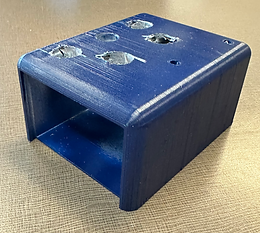
After discussing the buttons taking up too much space within the module, we decided to redesign the case to allow the buttons to be placed inside a hole from the top rather than be placed sticking through the hole form the bottom. This freed up a lot of space, while also giving the modules a new sleek look.
Case: Version 4 (Final Case Design)
With the increased size of Color Press and Copycat, the new orientation of the buttons, and many things being soldered to the right length, we figured out the final case design which remains as our final prototype. We have many plans on other ways to improve had he had more time, money, and materials, however, this is the best prototype possible.
For the footage of the prototype in action, check the page "Final Prototype" in the Prototype section of our website.